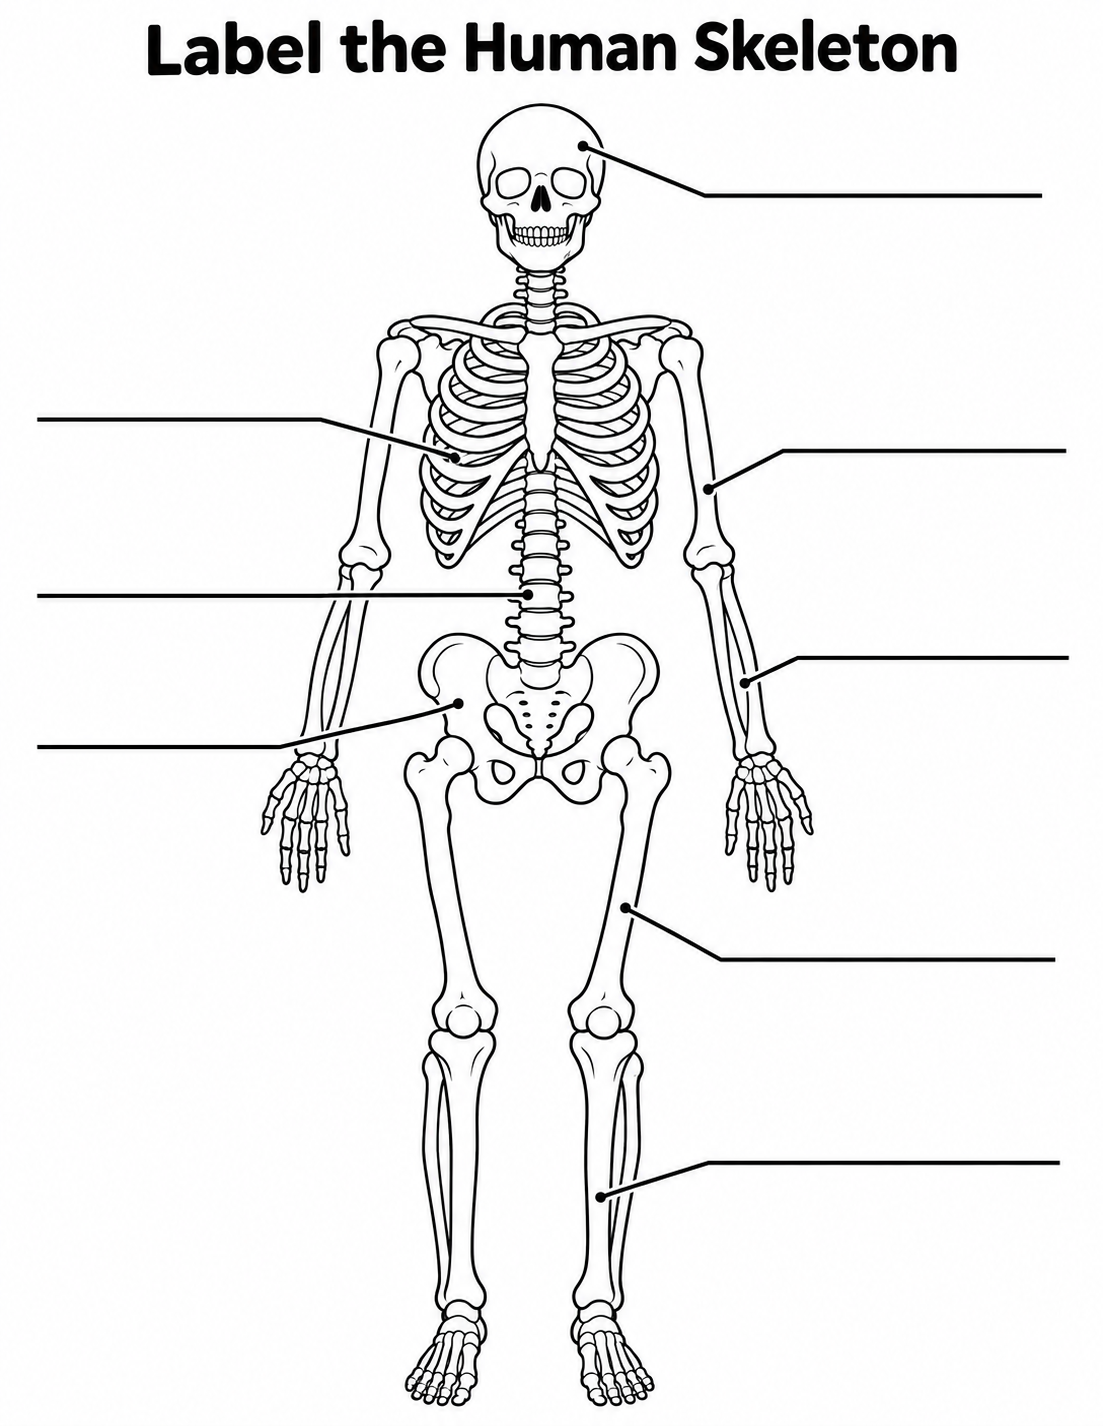
Practice identifying major skeletal regions with a blank front-view labeling worksheet. The page shows a simplified human skeleton with eight empty label lines. It gives students room to write their own answers and lets teachers choose a word bank or use the sheet for an introductory review.
Blank Printable Human Skeleton Diagram for Labeling
Download the printable PDF | Download the full-size PNG image
What is on the worksheet?
The simplified diagram includes the skull, rib cage, spine, pelvis, arms, hands, legs, and feet. Eight leader lines point to areas for labeling. This is an introductory classroom illustration, not a detailed anatomical atlas or a medical reference.
How to use this printable
- Print the blank PDF and give each learner a copy.
- Choose the vocabulary that matches your lesson before starting.
- Have students follow each leader line before writing a label.
- Review the answers against the class textbook or your teaching model.
Adapt it for your class
For a first activity, ask students to identify broad regions such as the skull, ribs, spine, pelvis, upper arm, forearm, thigh, and shin. For a later lesson, use the appropriate bone names from your course materials. Teachers can supply a separate word bank rather than writing answers on the blank page.
Printing tips
The PDF is formatted for US Letter paper (8.5 × 11 inches). Print in portrait orientation and use the print preview to check the margins. For A4 paper, select Fit to printable area and check that the entire page is visible. Save the PNG if you need an image file. Print a test copy before making multiple copies.
Frequently asked question
Is an answer key included?
No. This download is the blank worksheet. Use your class reference materials to choose and check the labels.